Link an Architectural Model
MEP projects are typically created using linked architectural models. The linkage allows working in a collaborative and coordinated way between the architecture and MEP disciplines. If the linked model in the project is modified, Revit will automatically update the model each time the project is opened.
In this tutorial, you will link the architectural model that was created earlier in the Revit Architecture tutorial. To link, access the Insert tab and click on the Link Revit icon.

A window then appears to select the file to be imported. Browse and search for the project file made in the Revit Architecture tutorial, then select it. For Positioning, specify the desired option, in most cases you should select “Auto – Internal Origin to Internal Origin”. Click on Open.

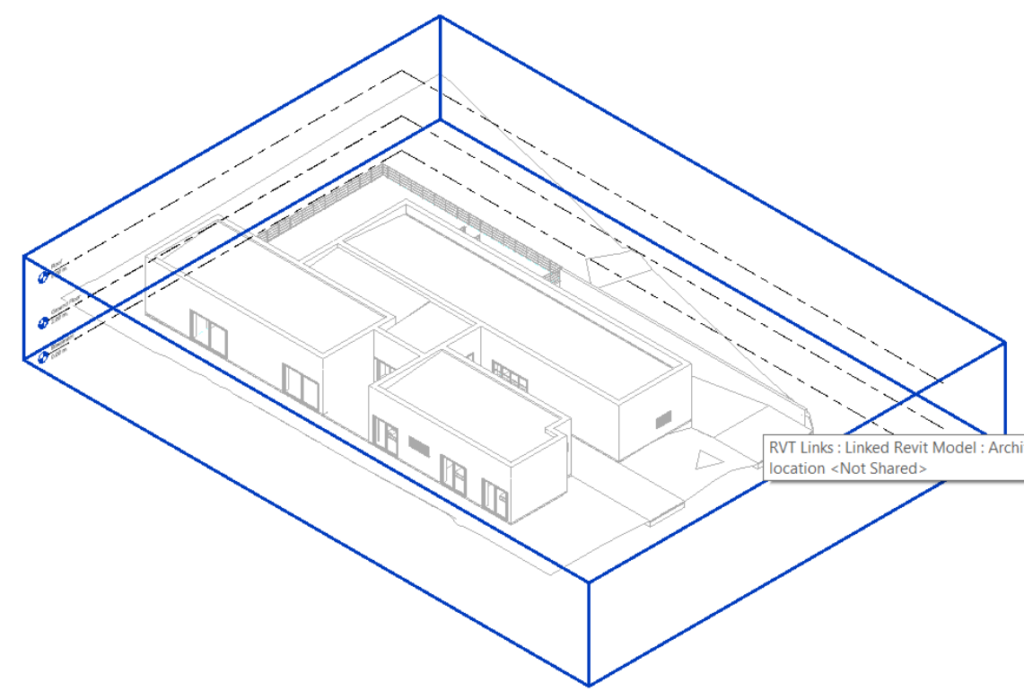
The linked model will then be displayed in the Drawing Area.

When the mouse cursor passes over the architectural model Link drawing, a blue selection box appears. Sometimes these blue lines get in the way of the design visualization.

To disable the selection of linked models, you must click on the Select Links icon in the Selection Toggles bar so that the Selection Box no longer appears.

