Add Levels
The pre-defined template (Systems-Default_Metric) provides only 2 levels (Level 1 and Level 2), and according to the needs of each project, it may be necessary to create more.
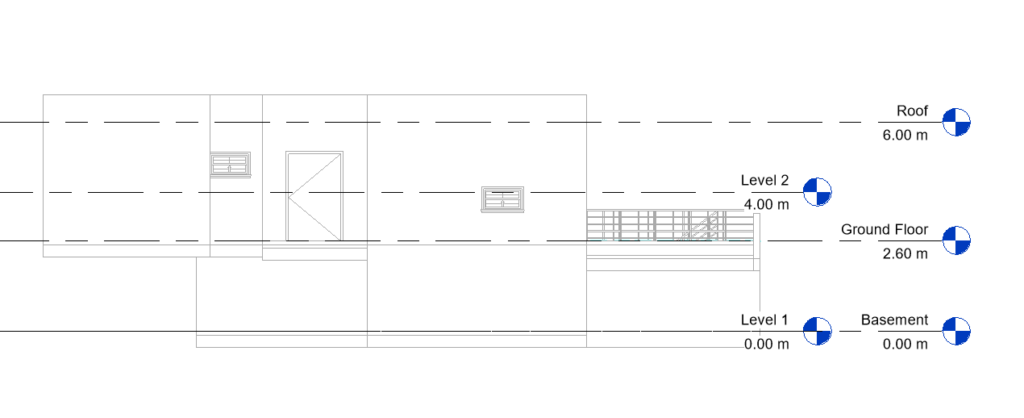
When opening one of the Elevations views from the Project Browser, it is possible to view the template levels, and the levels of the imported model (Basement, Ground Floor and Roof) are also visible.
The levels of the linked architectural model are just a graphical representation and cannot be used as a reference in the current project. All the elements of the linked model are in a single block, which makes it impossible to change, so it is necessary to insert levels in the current project that overlap those of the architectural model.

It is recommended that Level 1 and Level 2 are renamed “Basement” and “Ground Floor”, respectively, and that their heights be changed so that they are on top of the levels of the imported design (0.00 m and 2.60 m). A third level should be created and named “Roof”, with a height of 6.00 m.
To create this new level, for Roof, in the Architecture tab, Datum panel, click on Level.

When you approach the mouse cursor from the Ground Floor level, a temporary dimension will then appear relative to the Ground Floor level, which serves as a preview of the level to be inserted. Depending on the mouse movement, the dimension changes.

In relation to the Ground floor, the new floor will have 3.40 m. After viewing the temporary dimension of 3.40 m, just click on the drawing area and the new level will be inserted.

In addition to creating a level for each story in a building, you can also create reference levels, such as sill level.
